Project Photos: Suede Boots

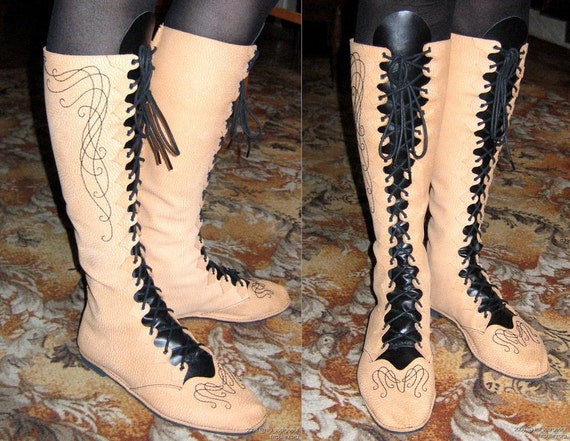
This pair of suede boots was one of the major projects that made up my renaissance faire outfit. It was my first time making shoes of any kind, but they still turned out fabulous and warm! I had a lot of inspiration that went into the final design and I put it all together in a pinterest board that is still growing.
The main sources that influenced the final design:
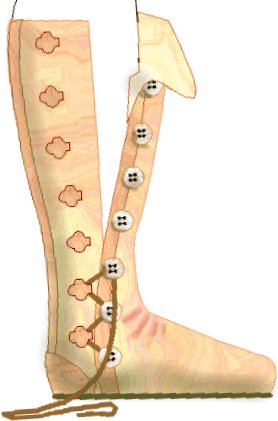
 So I looked around online to see how to make a boot that actually fit an individual person's foot. This tape mold method was the way that sounded the best to me to get a custom fit while still hanging on to the style of the first boot pattern I liked.
And I picked up a few pointers on how to do the tongue and laces a little better here. It is a tutorial for doing doll shoes, but it's the same basic idea just scaled way down.
I loved the idea of embroidering my boots, and after I picked out the black suede for the exterior, the gold on black combo took root. I had seen a medieval French tapestry that had a winged deer, and it led me off in that direction.

The deer that I came up with are actually a combination of a Christmas ornament and a photo of an eagle:


And the deer on the tongue is a combination of the other deer and a pretty celtic knot. I can't seem to find the image I used on that one, but I think it was off a Google search instead of Pinterest like the others.

Stabilizing the suede, and transferring the pattern were the biggest hurdles to get through on the embroidery. What worked best for me was putting scotch tape on the underside of the suede to keep it from stretching and distorting as I sewed with it. when taking the tape off, it did take a bit of material with it, but since the back would be covered on the inside of the boot, that wasn't a big deal. The pattern started out on translucent tissue paper that was held on by the embroidery hoop, but I ended up having to cover that in the clear tape as well to prevent it from ripping. Again, I don't know that this is the optimal way to accomplish the job, but it worked for me.

The inside of the boot is lined with a spotted fur that is glued on with a strong rubber cement and the tongue has a small panel of a faux leather glued over the back of the goldwork.

The decorative panels in the back were actually sewn in place like the rounded heel enforcement in the doll shoe tutorial. I just lengthened mine and gave them a decorative point. These were actually done from samples so one was brown and the other was black. They were spray painted to match, and I sprayed the store bought soles that I had cut down to fit my shoes while I was at it.
The spray paint didn't really live throughout the weekend. Walking around outside for about 8 hours both days wore all the black off of the soles, and left the brown was peeking out from the bottom of the heel on the one panel. The brown wore off due to the fact that my foot rides too far back in the shoe (due to my hand sewing on a modern sole to a turnshoe; next time I would go with a heavy leather sole when turning). But overall the shoes are still doing well after that harsh treatment. In the photo below, you can see the white bit of the sole.
Since the faire, the shoes got an upgrade to gold and black laces :D

Due to the huge number of lacing holes and the height of the boot, it took a pair of laces for each boot. I had to cut off the gold aglet on one end and sew them under the base of the tongue, so they are permanently a part of my boots.


Comments
Post a Comment